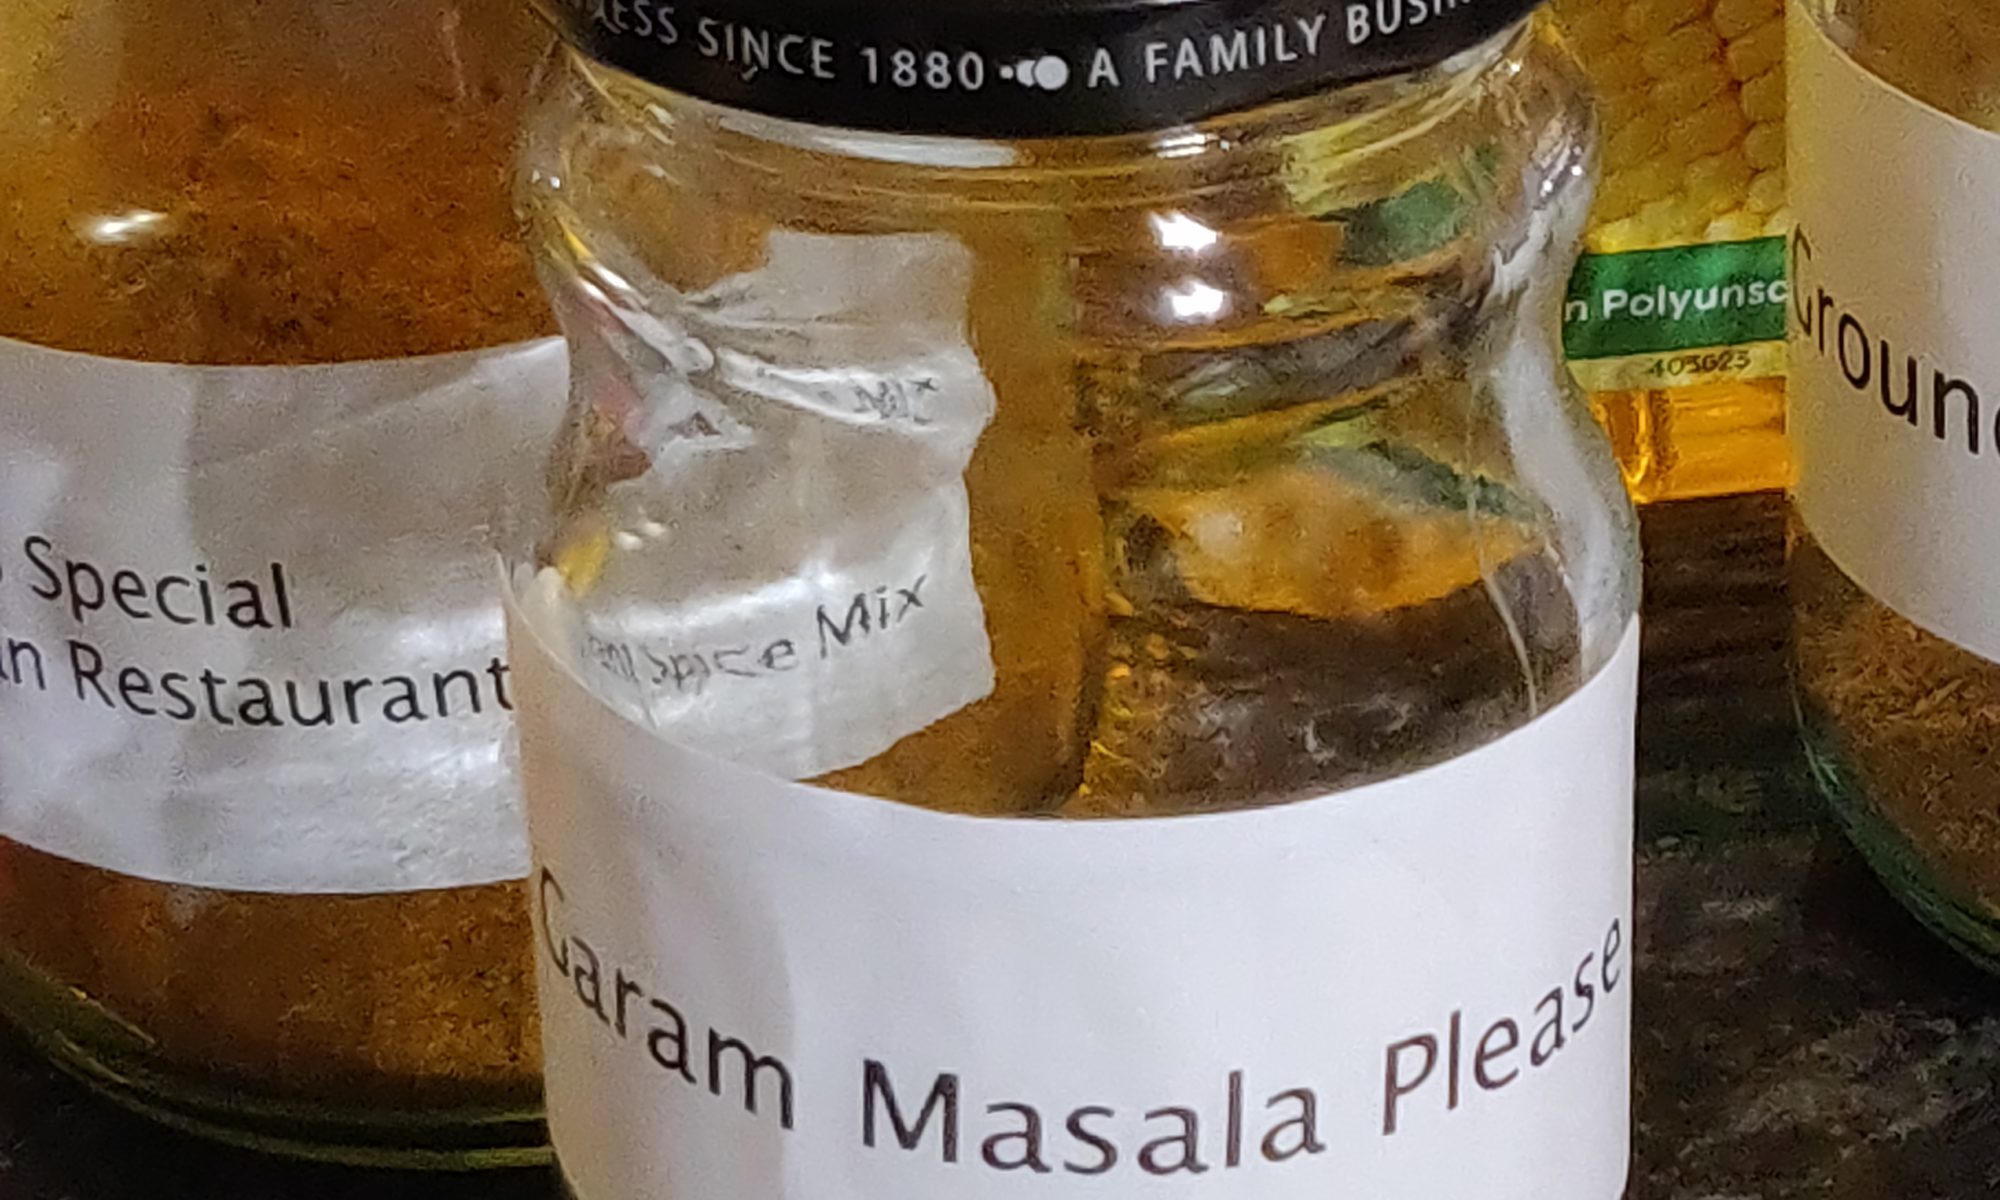
This is my favourite Garam Masala recipe that I've developed over the years, inspired by the very polite waiters in many Indian Restaurants that I've frequented that have almost all approached the table with the words "Garam Masala Please"
Lightly toast all the ingredients by putting the biggest ingredients in the pan with 30 second intervals inbetween each, don't let them burn, just a light toasting is required
Let the spices cool and then put into a grinder and grind until a fine powder is achieved
Place in an air-tight container and use when required, it will last for at least a year but is best when used as soon as possible
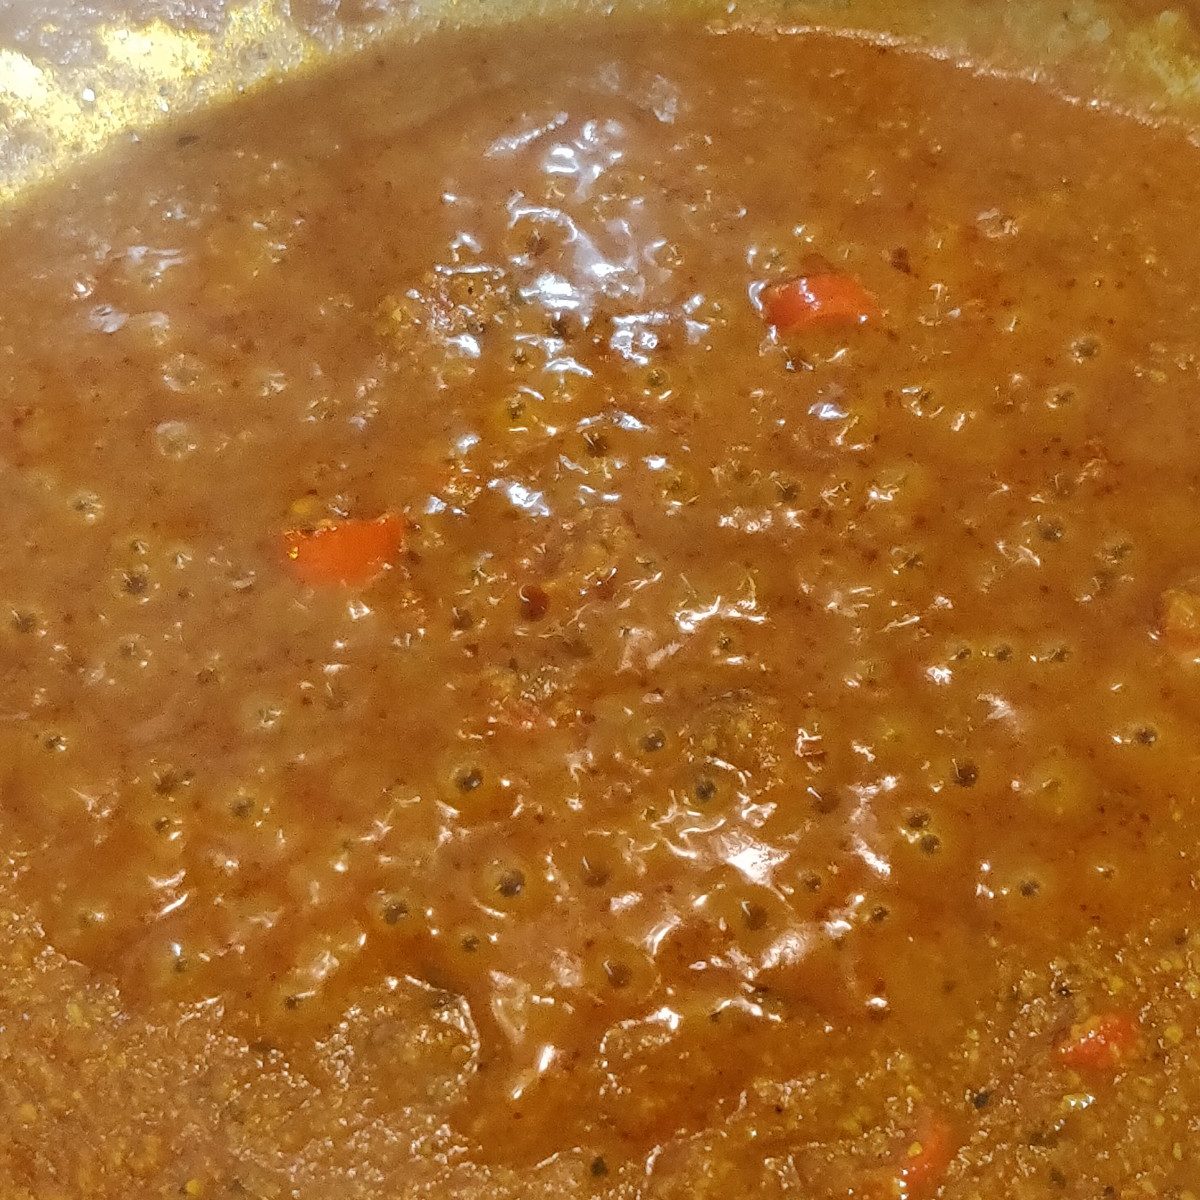
This recipe creates the base for most of my “gravy” based curry dishes, it’s easy to make and freezes very well for pulling out at a moment’s notice when you’ve had a long day at work and fancy a quick but tasty curry.
Print Recipe
Dairy Free Indian Curry Base
This recipe creates the base for most of my "gravy" based curry dishes, it's easy to make and freezes very well for pulling out at a moment's notice when you've had a long day at work and fancy a quick but tasty curry.
Put all the ingredients except the tomatoes into a big pan with the water, bring to the boil and then turn down the heat so that the base is just simmering, if you're worried about it splashing/spitting then cover with a lid. Let it simmer for 1 hour.
Stir in the tomatoes and simmer for another 20 minutes.
Turn off the heat and leave the pan to cool for about 30 minutes.
Blend it all up with a hand blender.
Empty out into a suitable container, clean the pan and then tip the base back into the pan and simmer for about an hour or until all of the oil has started to rise to the surface.
Turn off the heat, mix everything up again with a big spoon, let it cool and then use straight away or freeze it in pour and store bags.
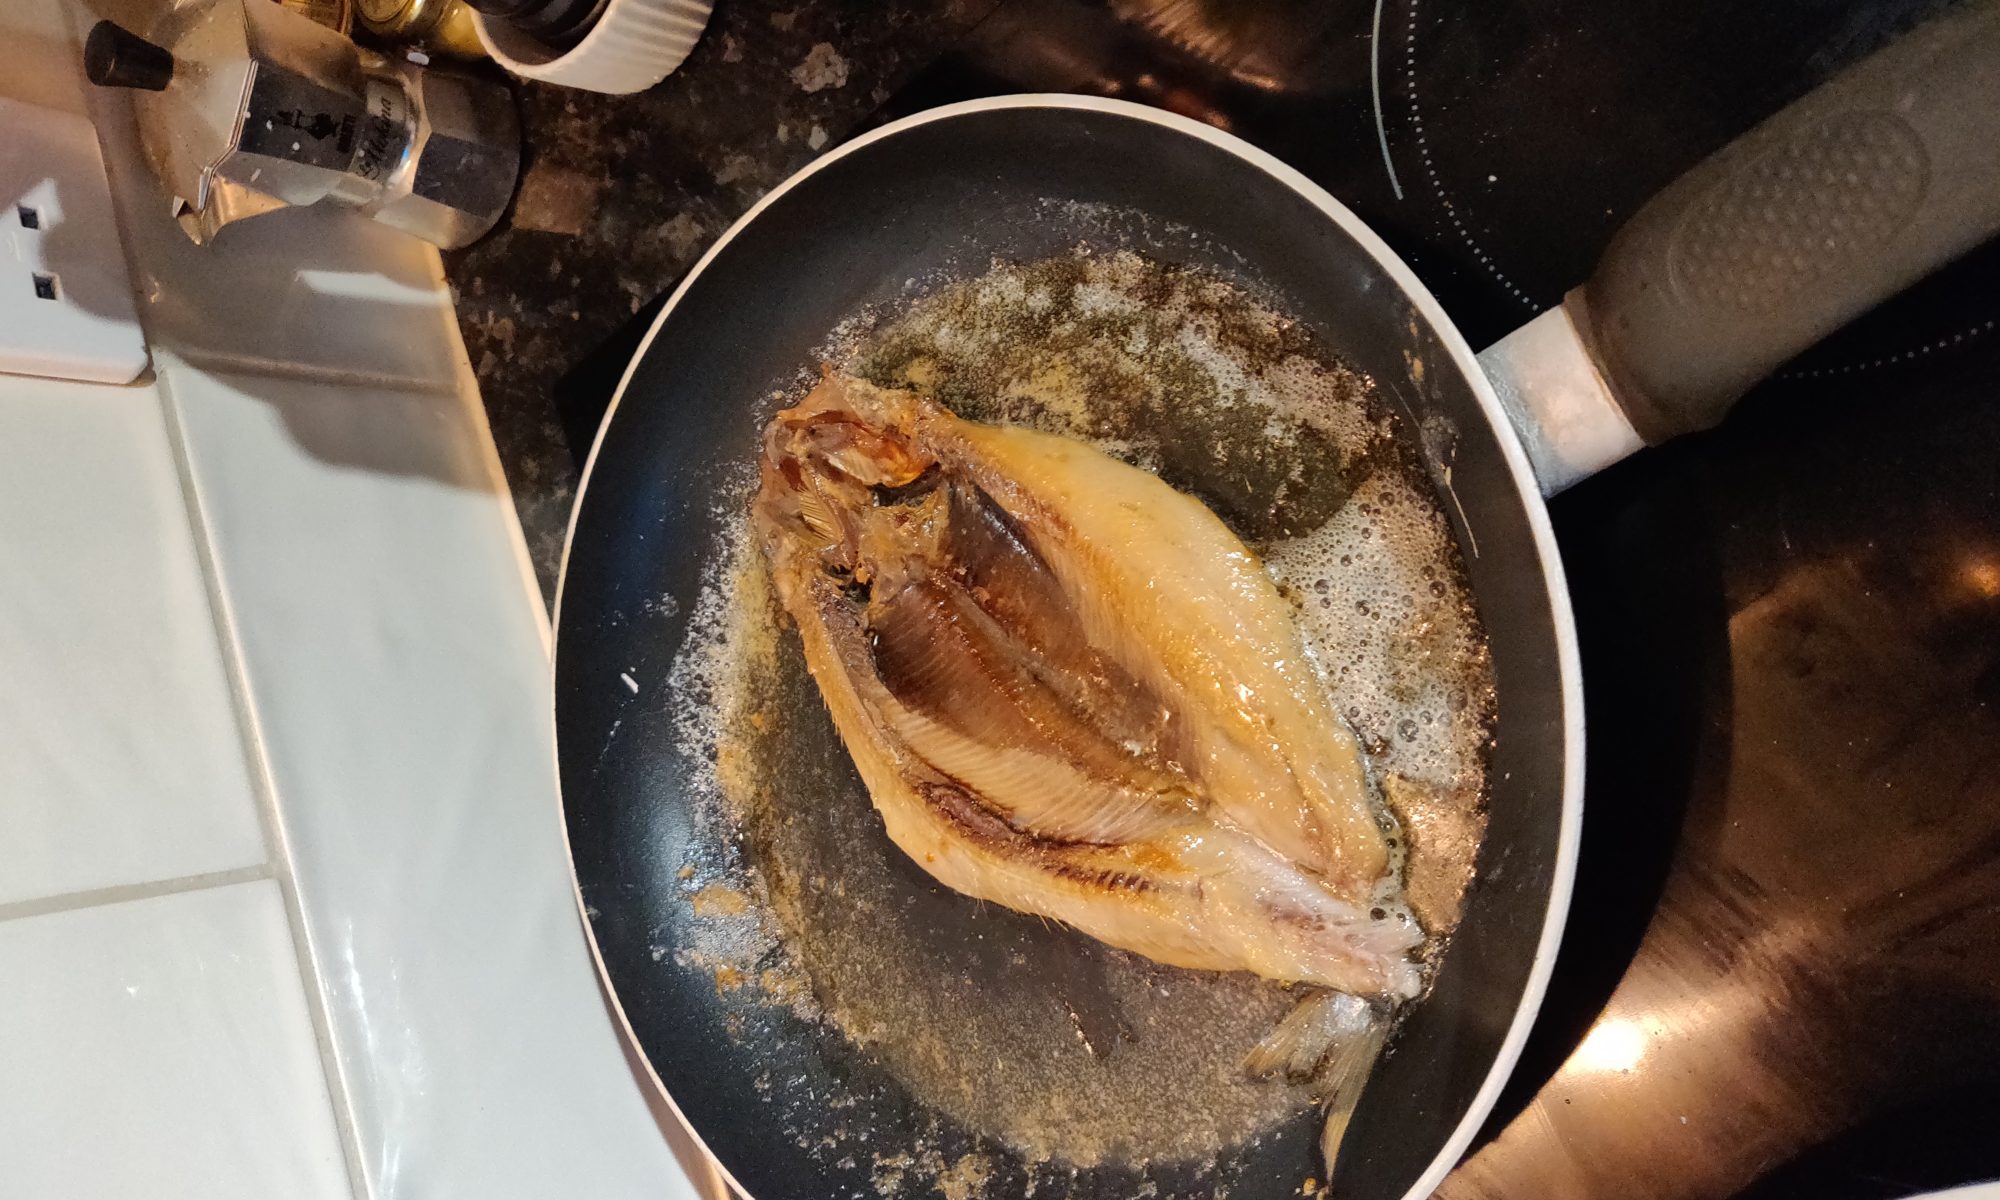
My second favourite way to eat fish for breakfast (a close second to Smoked Haddock and poached egg)
Sadly although I do a lot of fishing, we rarely catch decent sized Herring and therefore I’m always on the lookout for them in local fishmongers, recently I’ve found a good supply of local (Cornish) Herring in a supermarket in Falmouth.
I really don’t like buying kippers as I’m never 100% sure of the method used to smoke them and they’re so easy to do yourself and taste fantastic.
I start by buying the most fresh fish I can find, always whole fish, at the moment they’re about £5 per Kg.
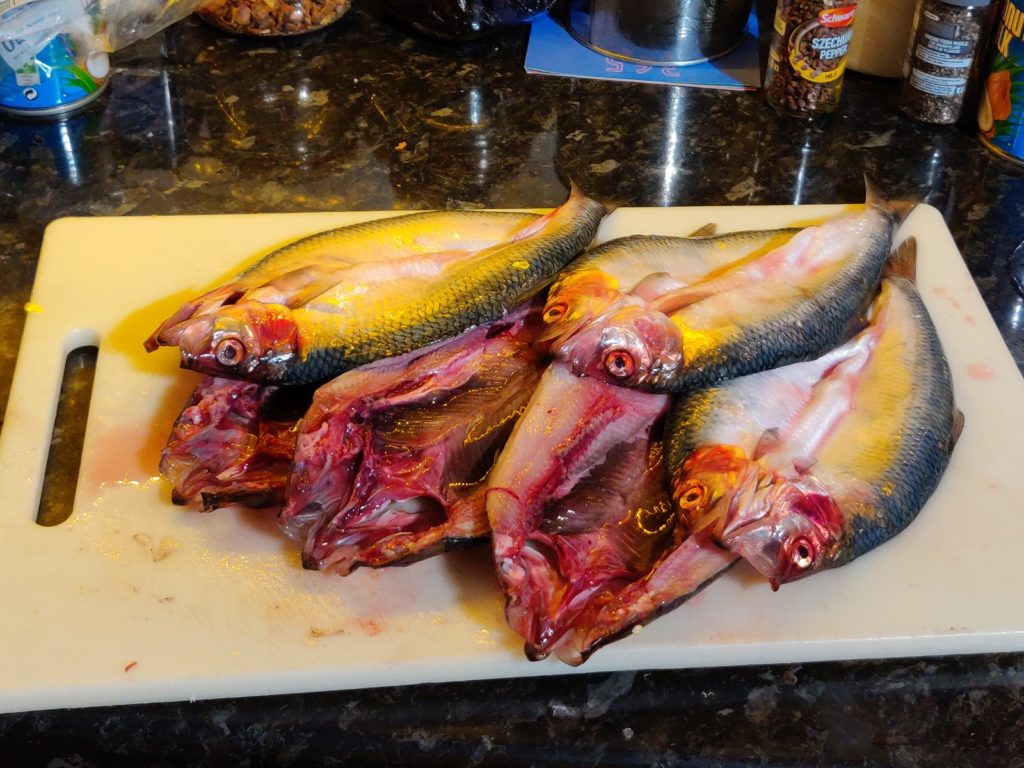
When I get the fish home, I butterfly them as soon as possible.
My filleting skills are OK but I’m no pro, I tend to use a strong pair of scissors to cut through the top of the mouth through the top of the head and then use a sharp filleting knife to cut right down one side without cutting into the belly.
Once the cut is done (I prefer the traditional method of leaving the head on), unfold the fish to reveal the guts and gills, pull both out.
Butterflied Herring
I do them all in one go and keep the freshly cut fish in a bowl and then pull out the innards all together and rinse all the fish.
Prepare a simple 70% brine solution (232g of PDV salt to 1 litre of water) by mixing cold water and the salt – I prefer PDV salt for most curing I do as it is cheap (about £15 for a 25Kg sack delivered from Amazon).
Depending on the number of fish and amount of brine, either place all the fish in the brine in a bowl or in a strong food grade polythene bag.
Keep the fish in the brine for an hour and a half, keep in the fridge during the brining.
Once the brining has finished, pour away the liquid and wrap the fish in towels and put back in the fridge over night (don’t wash off the brine).
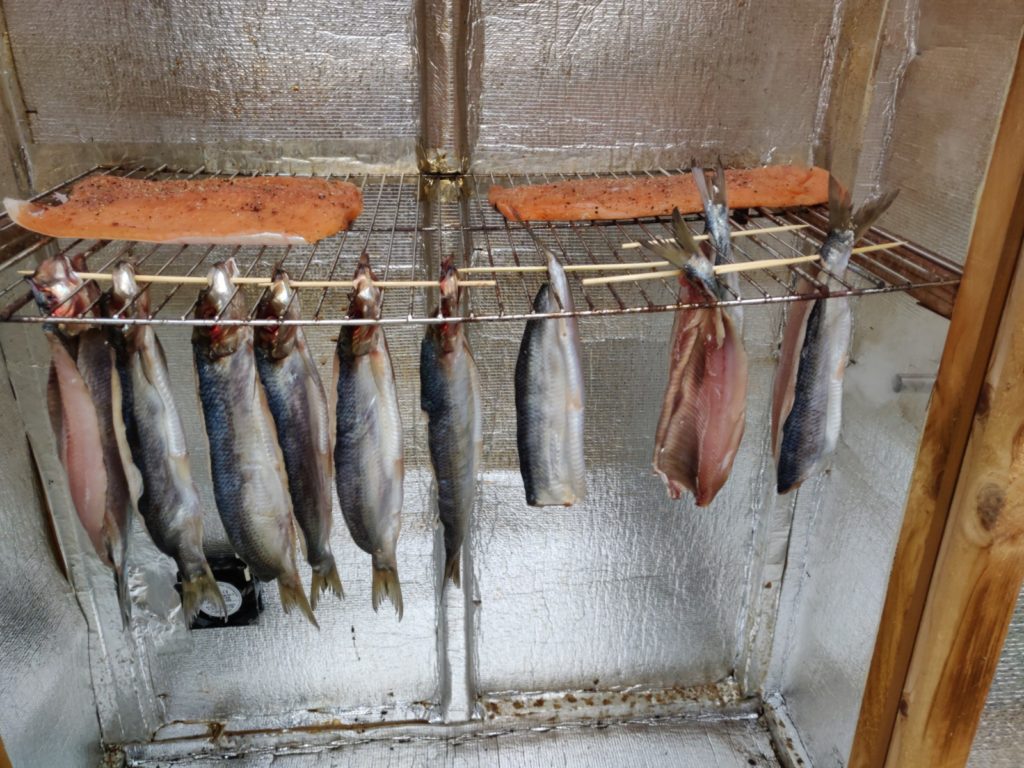
The next day, first thing in the morning, I prepare the smoke house (you can do this in a BBQ with a cold smoke generator). Ideally you want to cold smoke the fish for 24 hours.
Herring hanging in the smokehouse next to some Salmon
I hang the fish on the wire rack in the smoker and pass a wooden skewer through the gills to hang them vertically which helps the moisture drain out.
Choice of wood for smoking is personal preference and the traditional method is 100% Oak but I usually make a blend of 70% Oak, 20% Cherry and 10% Beech.
Keep the smoker going for 24 hours if you can or if you can’t keep it going over night then a bit of gap in between smoking won’t cause you a problem.
Once the fish is smoked the kippers are ready! You probably won’t be able to resist eating one immediately but the flavour develops if you can leave them a few days.
I tend to vac pac them straight out of the smoker to keep me from getting into trouble and smoking the whole house out, you can pop them in the freezer then too and they stay in better condition if vac packed.
There’s not much that can go wrong and you’ll end up with the best kippers you’ve ever tasted at a fraction of the price you’d pay for commercially produced kippers.
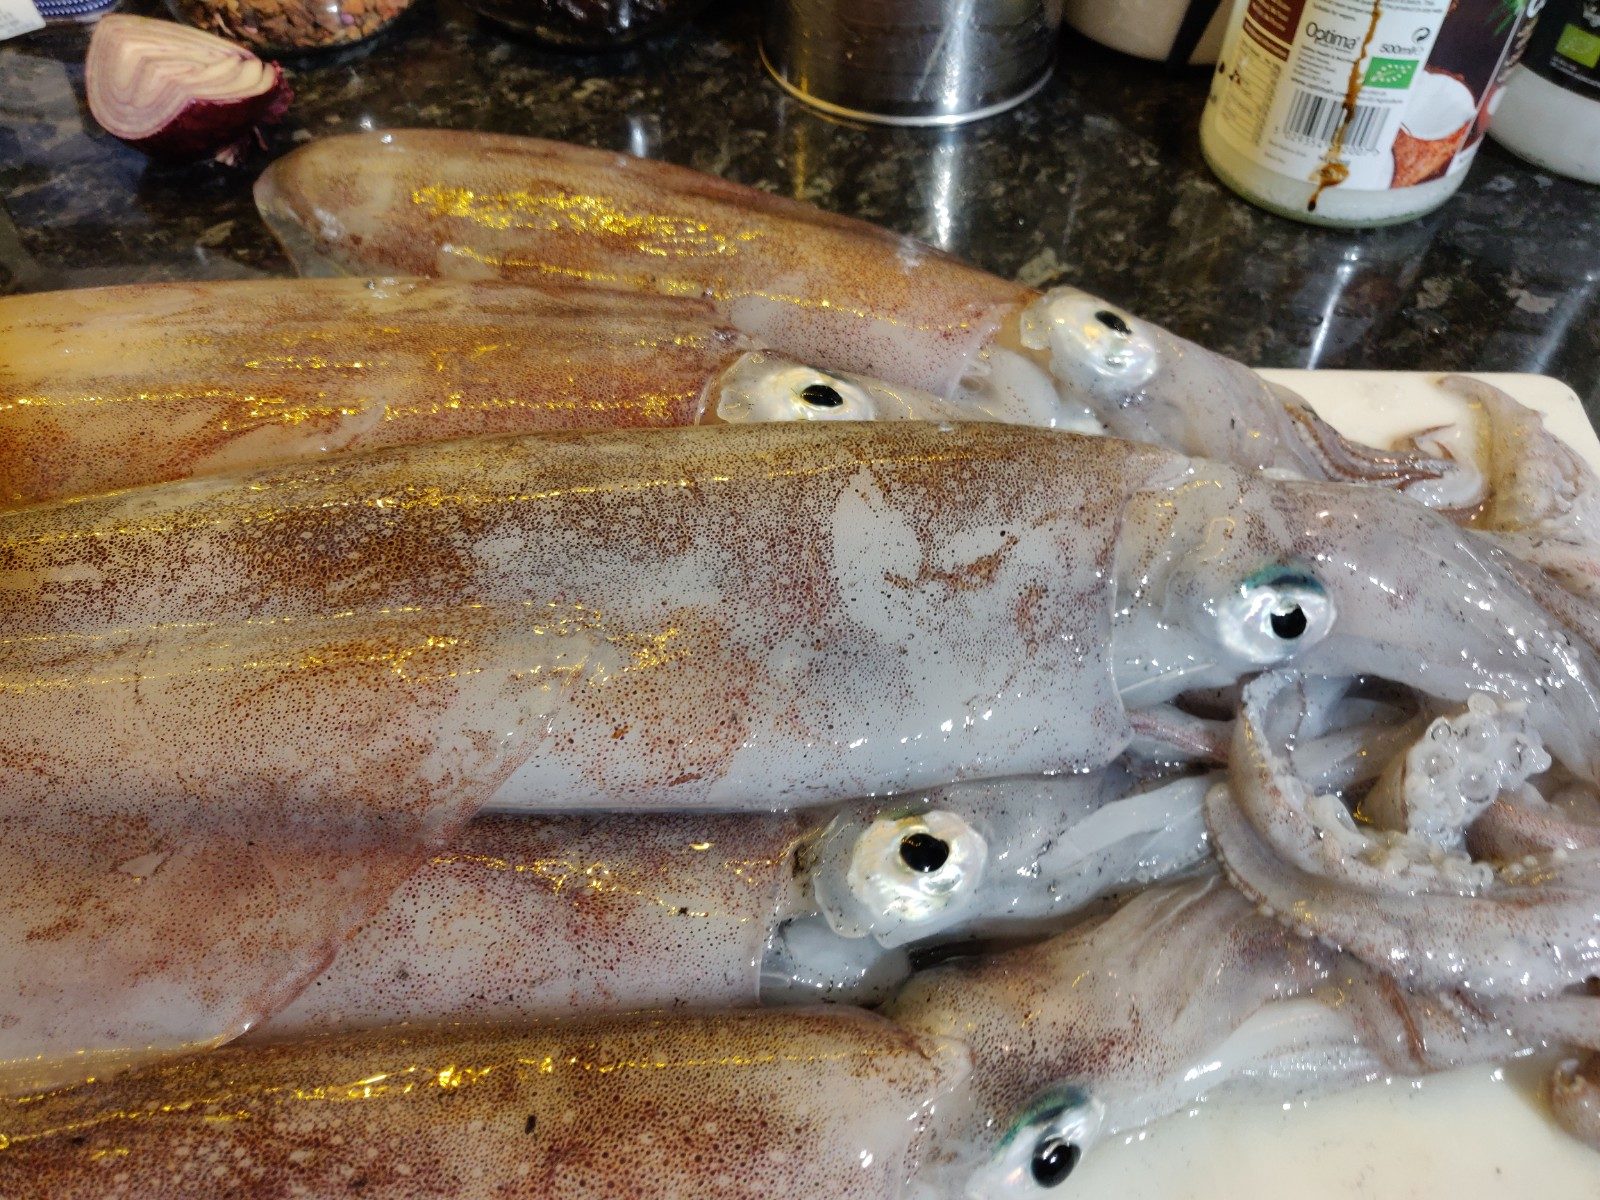
I love eating squid, but only when it’s spankingly fresh!
In Cornwall this year we’ve been very lucky with the season starting in October and lasting well into the New Year.
Catching squid is fairly easy when there’s squid in the bay, you only need some basic tackle.
Although it is possible to catch squid from the shore, it’s more reliable to catch them from a boat even though the marks that we fish are just a few hundred yards off shore.
I’m lucky enough to have access to several boats in addition to our own, if you’re in Cornwall then I recommend Anglo Dawn in Falmouth.
Andy (Skipper of Anglo Dawn) with a brace of squid
If you’re onboard a charter boat then the skipper will tell you everything you need to know.
I use my small slow pitch jigging rod and a fancy reel but you can fish with the cheapest of rods and reels.
The tackle couldn’t be more simple, just a 3oz weight on the bottom and two or three squid jigs (the cheap ones from Trago do the job). I prefer to use very small pink jigs that I get when on holiday in France and Italy, you can get them over there in most tackle shops and from Decathlon.
Some people like the ones with built in flashing LEDs and if the water is a bit murky then tie on a starlite, whatever you do you don’t need any expensive gear to catch fish.
The technique is also simple, drop the gear to the bottom, wind up a few turns and then put the rod in the rest and let it fish itself, you’ll soon know when you’ve got a squid on as the rod tip will pull down and throb, pick up the rod, reel in the squid slowly and net them with a landing net, just watch out for a squirt of ink!
Pop the squid in a bucket and get your gear back down there as when they’re biting things can go crazy.
Cleaning and preparing is very easy, once you’re home, pop them in the sink and reach up into the mantle and pull all the guts and tentacles out
You’ll find a quill down one side, pull that out and discard
Cut off the tentacles just below the eyes and make sure you remove the beak.
I like to take the out skin off the main body and one side of the wings.
Cut the squid up into rings or strips and separate the tentacles into twos or threes.
Give everything a good wrinse and then pop all the squid into a large polythene bag, add some plain flour, plenty of black or szechuan pepper and a good handful of sea salt.
Close the bag and give it a good shake so that all the squid is coated, leave it to rest for 20 minutes or so, this gives the flour time to go a bit soggy.
Fill a pan with extra virgin olive oil to about 1-2 inches deep and heat until just before the oil starts to smoke.
Put the squid in in batches and fry both sides for just a minute or so, then remove and put on kitchen towel whilst you do the rest.
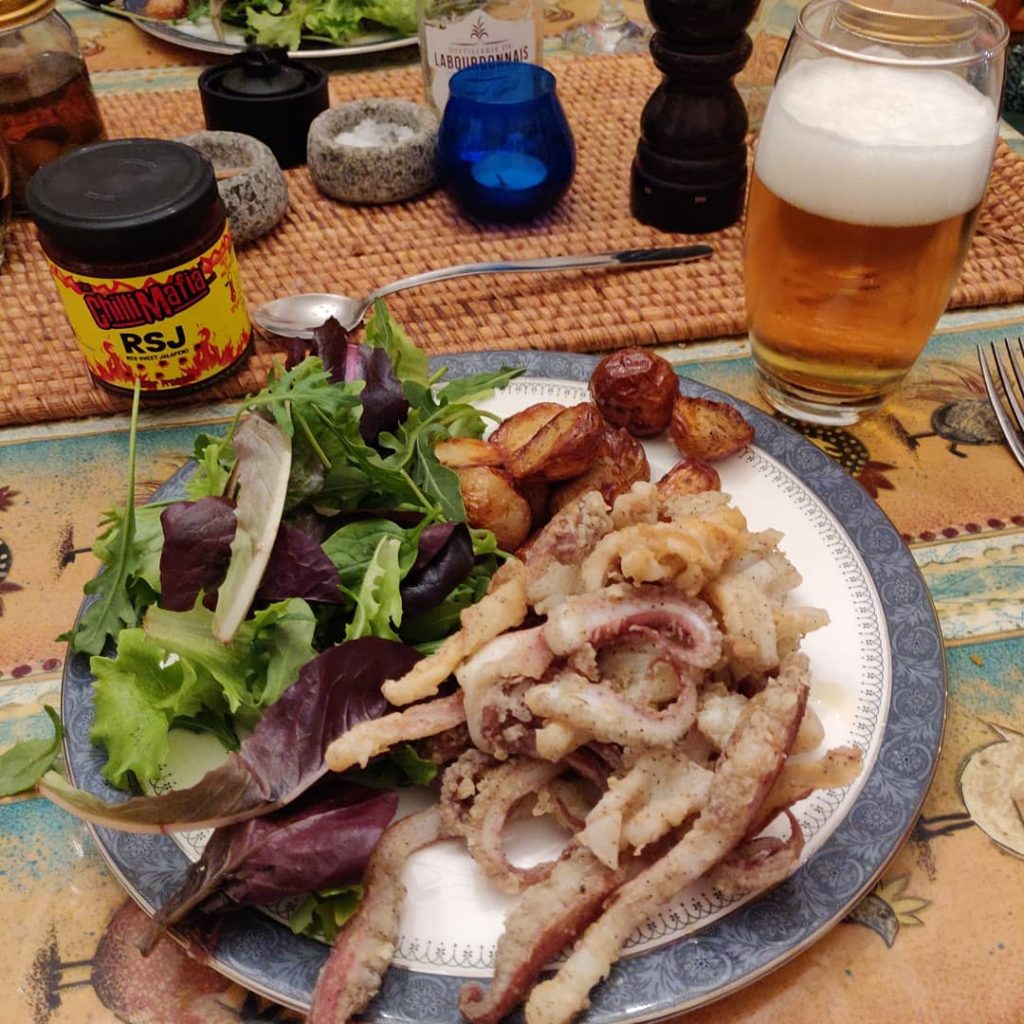
If the squids are a bit on the large size, score each side with a knife, it doesn’t matter if you accidentally cut through. This will make the squid less chewy.
Shallow fried salt and pepper squid with roast potatoes and salad
Start with the very best duck breast you can get and trim the sinew off, give it a little massage to get rid of any blood still in the arteries, make sure it's well plucked and cut away any bits of flesh that are bloody. I usually detach the bits of loose skin which makes a nice duck jerky to snack on when slicing the main breast for friends.
Mix the salt and sugar together in a plastic food box, add the duck and massage the salt/sugar mix into the flesh and the skin, ensuring you get into all the nooks and crannies.
Pour in the molasses and make sure the breasts get a good covering of it, I often use a fork to spread it around.
Put the lid on the box and put it in the fridge for 3-5 days (longer if you prefer it more cured, less time if you like it a little more rare)
Turn the breasts over every day but leave the liquor in the box.
Once you're happy that the breasts have been cured enough for you, take them out of the fridge and wash all the cure off and out of the box, pat dry the breasts and wrap tightly in cheese cloth or an old tea towel and put back in the fridge uncovered to dry for upto a week.
At this stage the duck is ready to eat if you don't want to smoke it.
If you prefer it smoked (I think it makes all the difference) then give it a cold smoke over a fruit wood for 4 hours.
I built my own smokehouse which is a bit flamboyant but I smoke a lot of fish and meat.
If you don't have a smoke house then a cold smoke generator and a kettle BBQ is all you need - I have used a ProQ smoker for many years and still sometimes use it in the smoke house - See https://www.proqsmokers.com/cold-smokers
In my opinion Cherry Wood is the best for smoking duck but you could use Oak, Apple, Beech or whatever you have.
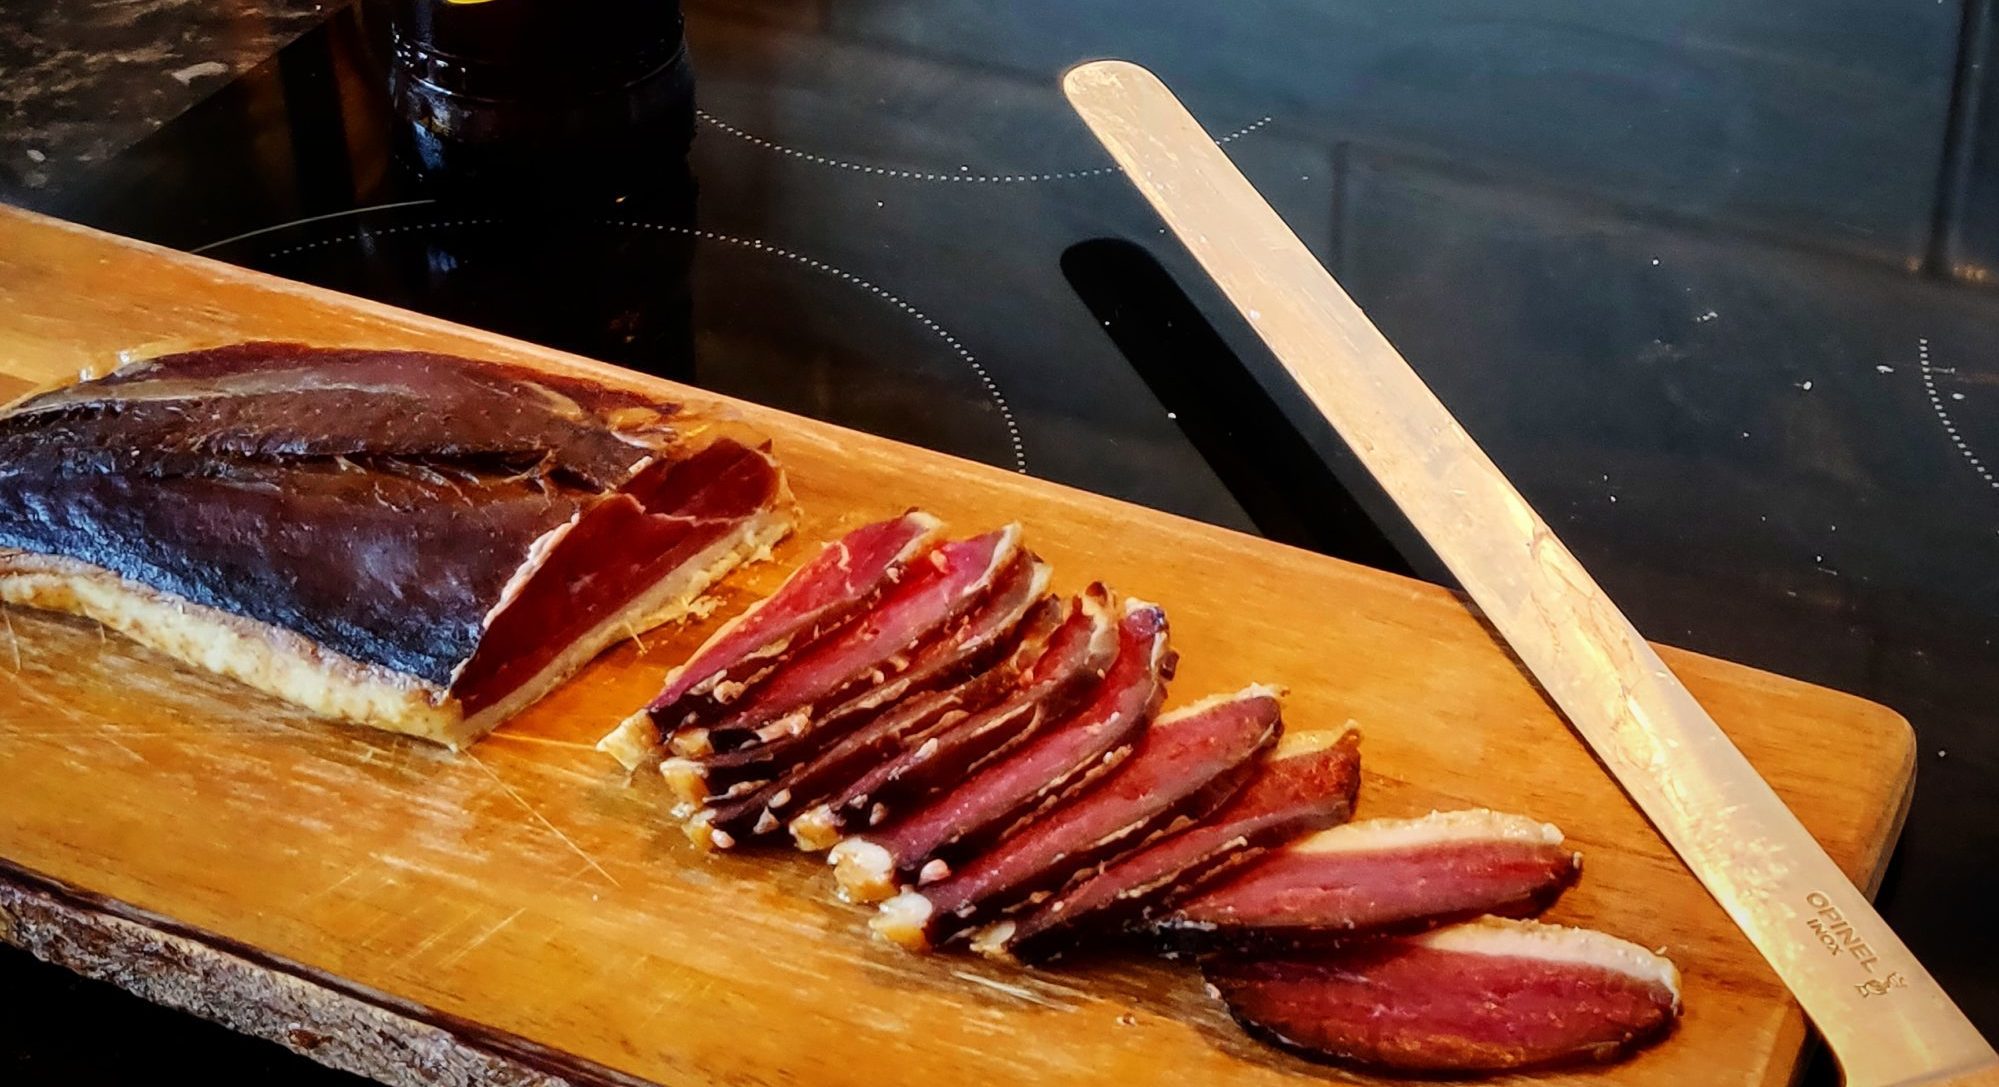
Once you've smoked the duck, put it back in the fridge - it will make the fridge a bit smokey but wrap it well in a tea towel again and then just take it out and slice as you like.
It's best to give it a few days if you can resist temptation before devouring, it should be OK for a month or more in the fridge but if I think I'm going to have it around for a while I tend to vac pac it and that also keeps the smokiness in.
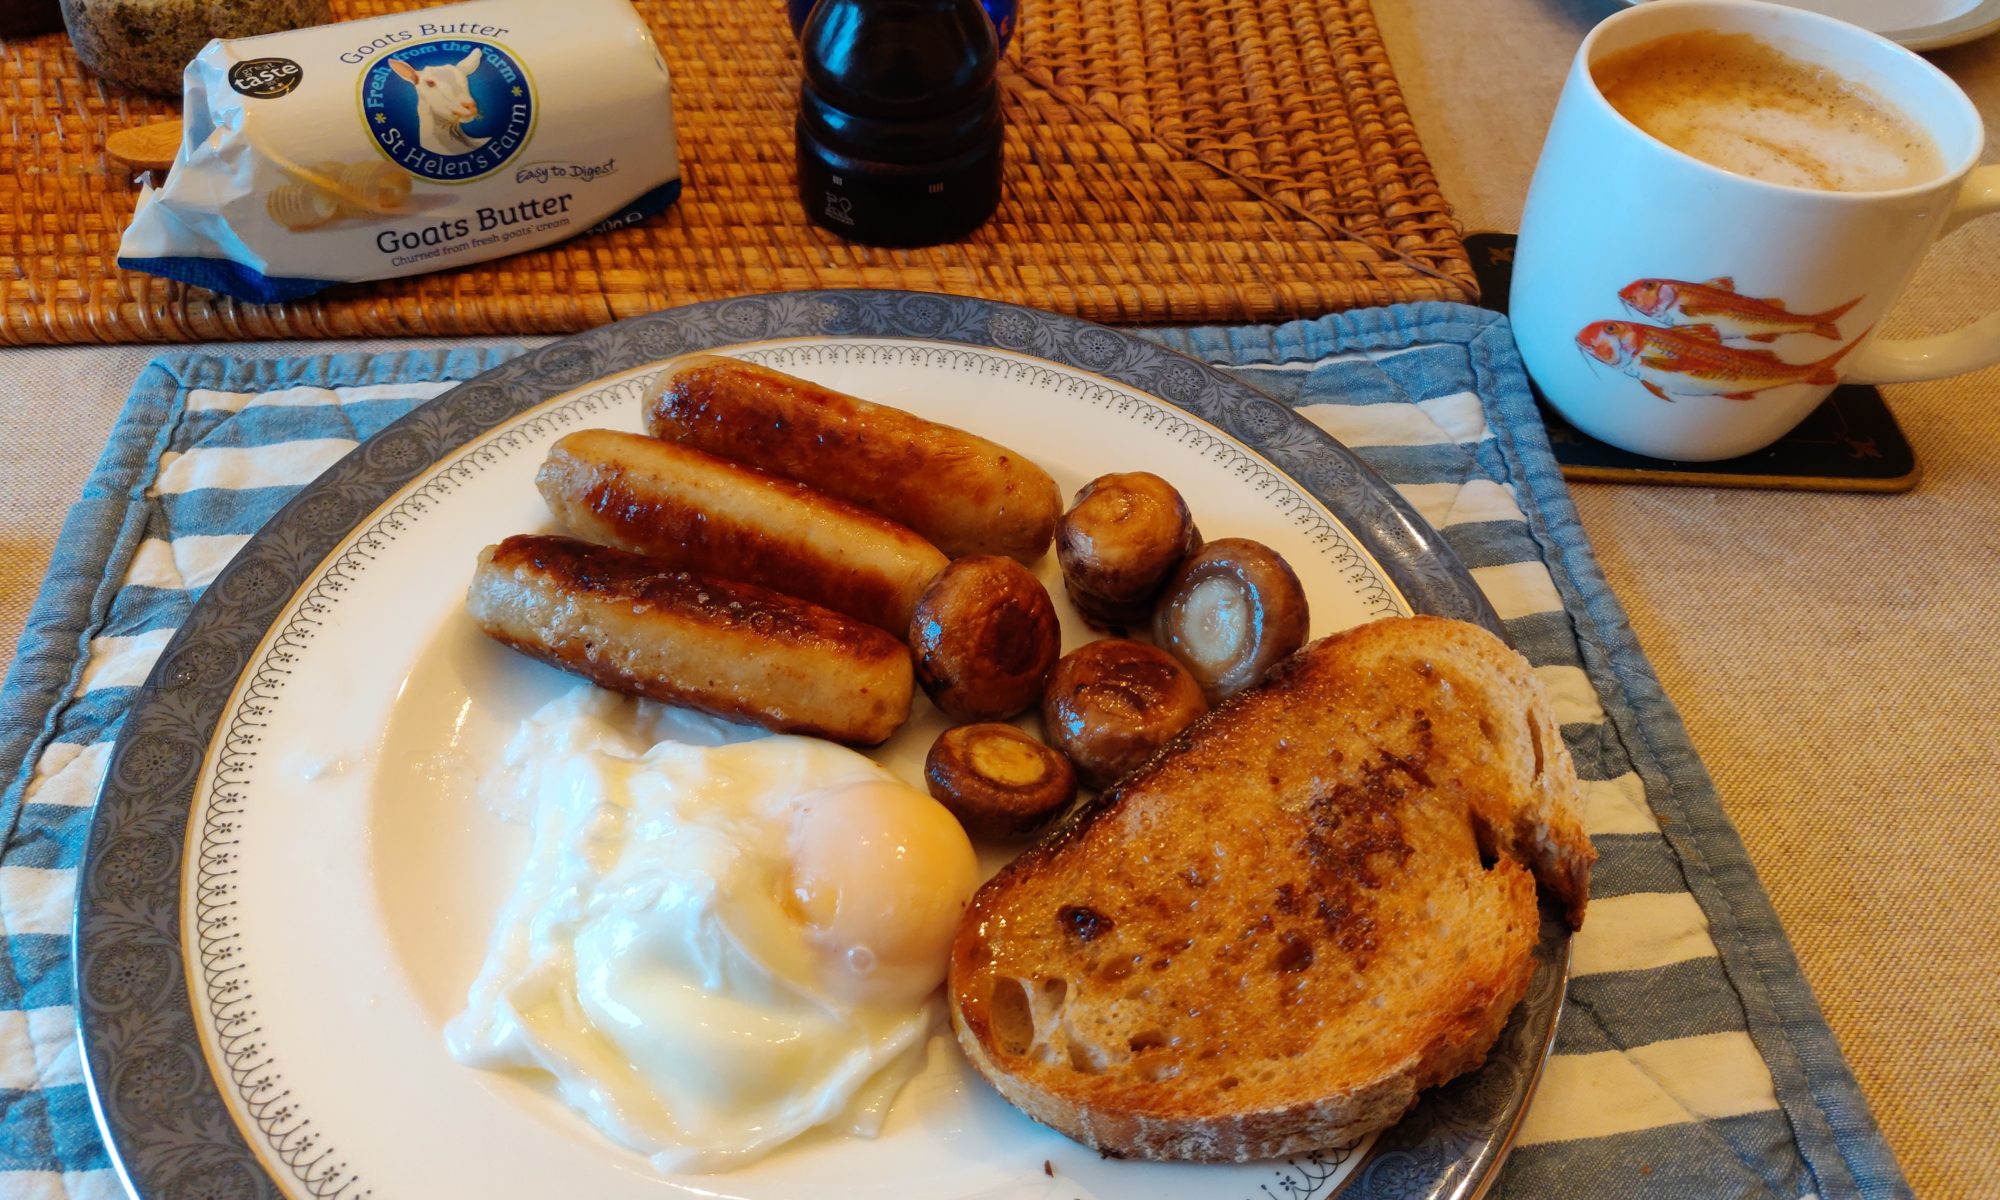
I love a good fry up but now that I understand that I am intolerant to cows’ milk and pork, I have started a journey to find the best alternative breakfast I can, there’s still a little refinement needed and I’m going to experiment with making our own sausages rather than buy from the supermarket.
I’ve been working on making the best cow milk alternative for coffee and have almost got the recipe and method nailed for Oat Milk.
Here’s a breakdown of the key components
Oat Milk Latte
Chicken Sausages from Richmond Mushrooms Poached Eggs from St Ewe Sourdough Bread from Baker Tom
For the coffee, I prefer to grind my own beans from Origin Coffee immediately before brewing.
Oat Milk There’s lots of choice now in the supermarkets for this but the quality, price and availability in our supermarkets nearby really varies so I decided to make my own.
After a lot of trial and not too much error, this is my current recipe:- – 1 cup of organic rolled oats, rinsed in filtered cold water – 4 cups of filtered cold water – 1/4 teaspoon of vanilla essence – 1 tablespoon of runny honey – 1/4 teaspoon of Cornish Sea Salt
Put all the ingredients in a Nutribullet and blend for exactly 30 seconds Leave the blended milk in the container and refrigerate for at least 1 hour Take out of the fridge, shake it well and filter through cheese cloth into a jug, pour into a milk bottle and put it back in the fridge. Before using the milk, give it a good shake as there’s no nasty stabilisers or anything like that to keep the solids in suspension.
My biggest discovery has been Goat Butter from St Helen’s Farm, it really tastes no different to cow milk butter, I still don’t use much of it but it is great for spreading on toast or, as I did this morning, use in the frying pan for frying the mushrooms and sausages.
Quite simple I know but finding the ingredients and putting them together took a little thought, it’s now just as easy as cooking any other fry up, in-fact this morning in another pan, I cooked pork sausages, bacon and tomato for Andrea.
Next steps are to refine the oat milk filtering process, develop a great recipe for homemade sausages (chicken or beef) and add a hash brown recipe to the dish.